Stamp Hinges vs Mounts: How to Mount Stamps Without Regret
How to mount stamps in an album: hinges vs mounts, which to use for used or mint stamps, safe mounting steps, and what hinge remnants mean for condition records.
Stamp Hinges vs Mounts: How to Mount Stamps Without Regret
To mount a stamp in a stamp album, pick a hinge for a used stamp or one that has been hinged before, pick a mount for a mint stamp with its original gum, and put no adhesive at all on a self-adhesive stamp. A hinge is a small folded strip of gummed paper; a mount is a clear plastic sleeve that holds the stamp front and back without touching the gum. The steps for both take under a minute once your hands are clean and dry.
That is the whole decision in one paragraph. The rest of this guide explains when each method applies, how to do each one without damaging the stamp, and how to record the choice so you can answer "how was this mounted?" years later.
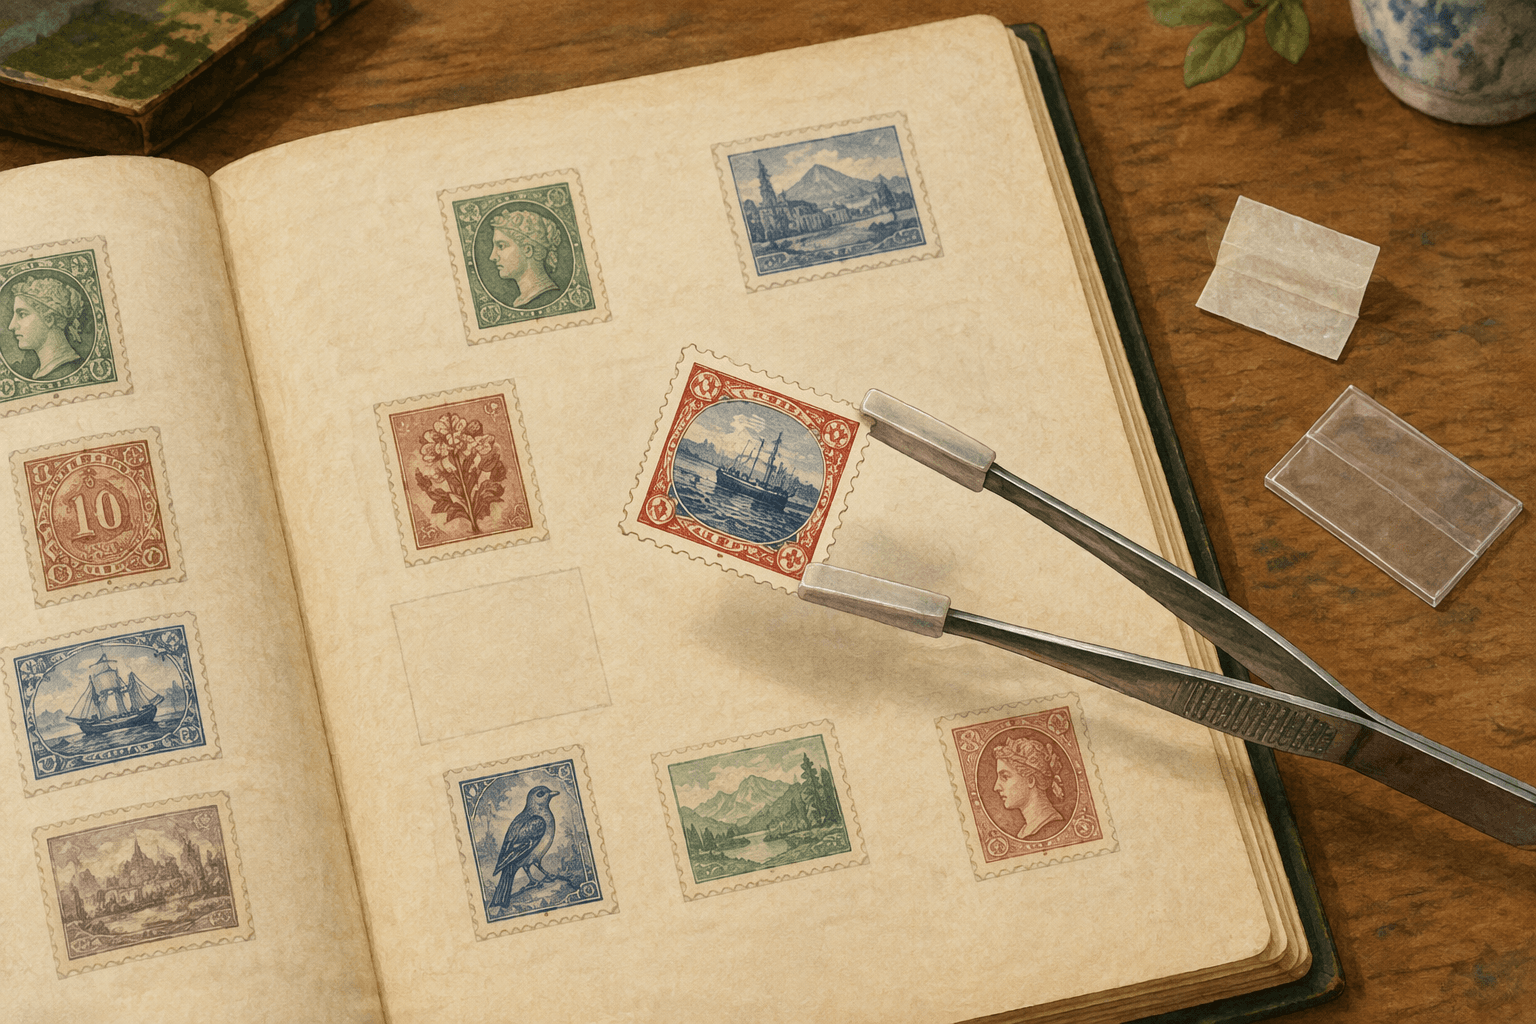
First, align on what "mount" means here
The phrase "how to mount stamps" pulls in three unrelated meanings. Google's People Also Ask for this query includes questions such as "Can you put a postage stamp anywhere?" and "Where to affix a stamp?", which come from mailing envelopes, not album pages. Other results cover rubber stamps, where "mounting" means fixing a carved design to a handle block. This article is only about the third meaning: placing postage stamps into a stamp album so they stay flat, visible, and safe.
If you are mounting a stamp on an envelope, follow postal guidance and skip this article. If you are adhering rubber to a wood block, none of the advice below applies.
What is a stamp hinge, and what is a stamp mount
A stamp hinge is a small, pre-folded strip of gummed paper or glassine, roughly the size of a postage stamp's corner. You fix the short leg to the back of the stamp and the long leg to the album page. Mystic Stamp's tutorial describes hinges as pre-folded, transparent gummed paper suited to used stamps, with the small side attached to the stamp back and the large side to the page. Hinges cost pennies and have been the standard method for over a century, but they leave a mark on the stamp's back once used.
A stamp mount is a clear plastic sleeve, usually inert polystyrene, that holds the stamp inside a pocket. Century Stamp's mounting guide explains that mounts protect both faces of the stamp and are the preferred choice for mint stamps with original gum, because the stamp never touches gum or moisture. The sleeve itself is fixed to the page; the stamp stays untouched inside it.
| Dimension | Stamp hinge | Stamp mount |
|---|---|---|
| What it is | Folded strip of gummed glassine or paper | Clear plastic (inert polystyrene) sleeve |
| Touches the stamp back | Yes, with gum | No, stamp slides into a pocket |
| Best for | Used stamps, previously hinged stamps | Mint stamps with original gum |
| Cost | Very low | Higher, often sold as strips to cut |
| Reusable | No, one-time use | Often reusable several times before replacement |
| Main risk | Gum residue and hinge remnants on the stamp back | Sizing mistakes that squeeze perforations |
Which should you use: three situations, three answers
Match the method to the stamp's condition, not to habit. The distinction that matters most is whether the stamp still has its original gum.
1. Used stamps, or stamps already hinged before. A hinge is the traditional choice, and most collectors consider it acceptable here because the back has no original gum to protect. The Stamp Forum's long-running discussion reflects the common practice: most used stamps of modest value are hinged, and hinging an already-hinged stamp changes little. You avoid spending mount material on a stamp whose back is already marked.
2. Mint stamps with original gum. Use a mount, not a hinge. Hinging a never-hinged mint stamp breaks the gum seal and turns it into a "previously hinged" stamp, which is a condition downgrade. A mount holds the stamp without touching the gum at all, which is exactly why vendor tutorials direct mint, unused stamps to mounts.
3. Self-adhesive stamps. Do not hinge them, and do not gum them. Community threads among stamp collectors repeatedly report that hinging self-adhesive stamps causes damage and value loss, since the adhesive interacts badly with gummed paper. If you want one on a page, Century's guide gives the sizing rule: self-adhesive stamps with backing paper are thicker and need a mount roughly 6 to 7 mm larger in each dimension than a water-activated stamp of the same size. A top-loading clear mount keeps the stamp visible without adding any new adhesive to its surface.
The same logic explains the rule behind this entire article: never apply household glue, tape, or any sticky paper to a stamp. Stamp Active's beginner guide states this as the first rule of putting stamps in an album.
The right way to use a hinge
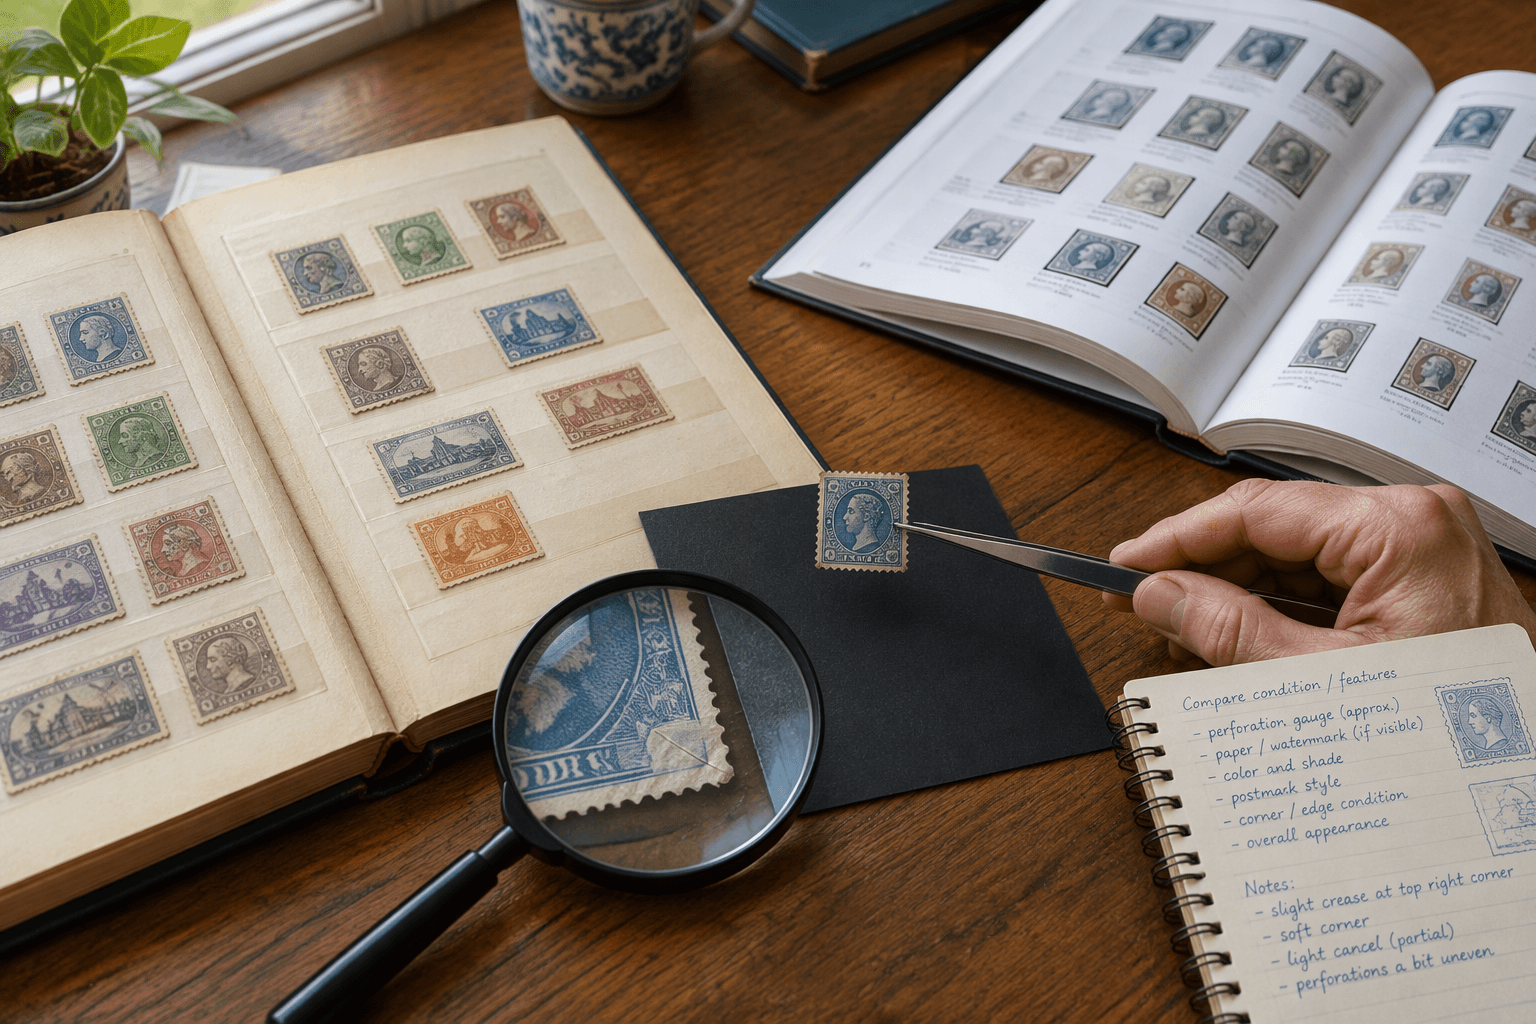
Hinging is quick, but each step has a failure mode. Work on a clean, dry surface and handle the stamp with stamp tongs rather than fingers; the Postal Museum's beginner guide recommends tweezers or tongs to keep skin oils off the paper.
- Fold the hinge. Bend the hinge about one third of the way from its top, so you have a short leg and a long leg. Pre-folded hinges do this for you.
- Moisten the short leg. A single light touch of moisture is enough. Excess water wrinkles the stamp.
- Attach the short leg to the stamp back. Place it just under the top perforations, so the hinge can flex without pulling on the perforated edge. Stamp Active's tutorial places the hinge under the top perforations for this reason.
- Moisten the long leg. Turn the stamp face up, position it on the album page, and press the long leg down lightly.
- Hold for a few seconds and let it dry. Do not pick the album up before the hinge has set, or the stamp will fall out of position.
Check the result with the stamp flat on the page. A correct hinge lets you lift the stamp gently from its bottom edge later, without tearing the paper.
The right way to use a mount
Mounts involve one extra step that beginners skip at their peril: the sleeve goes on the page first, empty. The iHobb mounting video, cited in Google's AI Overview for this query, delivers the warning in one line: never insert the stamp before gluing the mount, because moisture can ruin the stamp's gum.
- Measure the stamp. Use a gauge or ruler for width and height in millimeters. Century's guide adds a sizing allowance: about 5 mm extra for a water-activated stamp, and 6 to 7 mm for a thicker self-adhesive stamp with backing paper.
- Cut the mount to size. If you are cutting from mount strip, cut on the flat side of a mount cutter with the stamp under the guard, or use pre-cut mounts in the matching size.
- Attach the empty mount to the page. For a gummed mount, use the smallest possible amount of moisture, press the empty sleeve onto the page, and let it dry completely before anything goes inside. For a self-adhesive mount, peel the backing and press it down.
- Insert the stamp with tongs. Lift the top flap of the mount with stamp tongs, slide the stamp in smoothly, and let the flap close. Standard tweezers can tear the paper; stamp tongs have blunt protective edges.
- Check the fit. The sleeve should hold the stamp without pressing on the perforations. A mount that pinches the teeth will leave dents you will notice every time you turn the page.
Frames and display: a different job with a different rule
If the goal is a framed stamp on a wall, do not hinge or glue the stamp into the frame. Church Hill Classics' framing guide is direct on this: never use adhesive, because it damages the stamp and reduces its value. Display framing generally means holding the stamp in an inert window or pocket inside the frame, the same principle as a mount on a page. The same caution applies to any decorative display, including laying a mounted stamp page flat behind glass: the stamp should stay separable from whatever holds it.
Hinge remnants and "Mint Never Hinged"
Once a hinge has touched a stamp, the leftover mark on the back is called a hinge remnant. Collectors use this state in condition descriptions, and the vocabulary matters when you compare prices or catalog entries:
- Mint Never Hinged (MNH) means original gum is intact and no hinge has ever touched it. Any hinging, however careful, ends this status.
- Previously hinged (or "hinged") means gum exists but a hinge has been applied or removed, often with a visible remnant or thinning.
- Used stamps show a postmark instead of gum, so a hinge remnant is a minor note rather than a defining condition factor. This is one more reason the used-stamp-versus-mint-stamp split in the decision table exists.
Our guide on how much are my stamps worth covers how condition records feed into a careful value check, and hinge status is one of the first things a serious buyer looks for. Never promise yourself that a certain mounting method "protects value"; what mounting protects is the paper, the gum, and the option to describe the stamp accurately later.
After mounting: record the decision itself
The mounting choice is part of a stamp's history. A hinge says "I judged this used stamp safe to hinge in 2026." A mount says "this mint stamp still has original gum." When you eventually sell, trade, or hand the collection on, being able to answer how and why each stamp was mounted saves the next person from guessing, and from risking damage by opening a mount to check.
A useful event note is short: the date, the method (hinge or mount), the reason (used stamp, original gum intact, self-adhesive), and which album and page it went onto. Folidx's collectible event timeline is an optional tool for keeping these notes attached to the item itself, alongside condition and value records, so the story of "how was this mounted?" travels with the collection.
FAQ
What glue is used for stamp mounts? None on the stamp. A mount is a plastic sleeve; the stamp never receives glue. The sleeve attaches to the album page through its own gummed backing, moistened sparingly, or through a self-adhesive backing. Vendor tutorials describe mount adhesives as designed for paper surfaces with minimal moisture, and the empty mount should dry on the page before the stamp goes in. Household glue and tape are never acceptable on a stamp or on the page pocket that holds one.
Can hinges be removed safely? Hinges are designed to detach from the page without harming the stamp, and peelable or repositionable hinge styles exist for the page side. Removal from the stamp back is riskier: pulling a dried hinge can tear or thin the paper, and soaking it off changes the gum. If a stamp has meaningful value and carries a hinge remnant, most condition guidance says leave it in place and record its status honestly rather than attempt removal.
Do self-adhesive stamps need mounts? They need no gum of any kind, and community consensus among collectors is that hinging self-adhesive stamps causes damage. If you want one displayed on a page, either keep it on its backing paper and attach that, or use a top-loading clear mount sized about 6 to 7 mm larger in each dimension than the stamp itself, following the sizing guidance from Century's mounting guide. The stamp then faces the page without any adhesive touching it.
Sources
- Mystic Stamp Discovery Center, How to Use Hinges and Mounts: hinge definition, used-stamp suitability, hinge steps (definition text observed in Google AI Overview, US, 2026-10-08).
- Century Stamp and Coin, A Complete Guide to Perfectly Mounting Your Stamps: mounts for mint original-gum stamps, hinge steps, sizing allowances for water-activated and self-adhesive stamps, mount reusability (fetched 2026-10-08).
- Stamp Active, How Do I Put My Stamps in an Album?: never glue or tape stamps; hinge folding and placement under top perforations (observed in Google AI Overview, US, 2026-10-08).
- Kenmore Stamp, Using Stamp Mounts: mount sizing with a gauge; insert the stamp with tongs (observed in Google AI Overview, US, 2026-10-08).
- iHobb.com mounting video via Google AI Overview (US, 2026-10-08): attach the empty mount to the page and dry it before inserting the stamp.
- Church Hill Classics, How to Frame Postage Stamps: never use adhesive when framing stamps.
- The Postal Museum, Beginners Guide to Stamp Collecting: handle stamps with tweezers to avoid skin oils.
- Wikipedia, Stamp hinge: general hinge history and terminology (per outline evidence record, 2026-10-03).
- Community sources used as consensus markers, not authority: The Stamp Forum, mount or hinge discussion and Facebook philately group thread on mounting (observed in live US SERP, 2026-10-08).
Related reading
- How to Store Postage Stamps: A Safe, Searchable System for the environment an album page should live in.
- Stamp Perforations: How to Measure and Record Them for checking perforations before you cut a mount to size.
- Stamp Identification: How to Figure Out What Stamp You Have if you are unsure what the stamp is before mounting it.
- How Much Are My Stamps Worth? A Careful Way to Check for how condition records, including hinge status, feed into a value check.
Mounting choices deserve records too: when, what, and why. Folidx's collectible event timeline is an optional tool for keeping that record attached to each stamp.